When it comes to interior detailing, attention to detail and using the right products make all the difference. From dealing with everyday grime to restoring leather surfaces, understanding the right techniques and products is crucial for achieving that showroom finish. In this guide, we’ll explore a thorough process for interior detailing while highlighting key products from the Gloss Riders collection, including our All Purpose Cleaner and the soon-to-be-released Leather Luxe conditioner.
1. Understanding the Importance of Interior Detailing
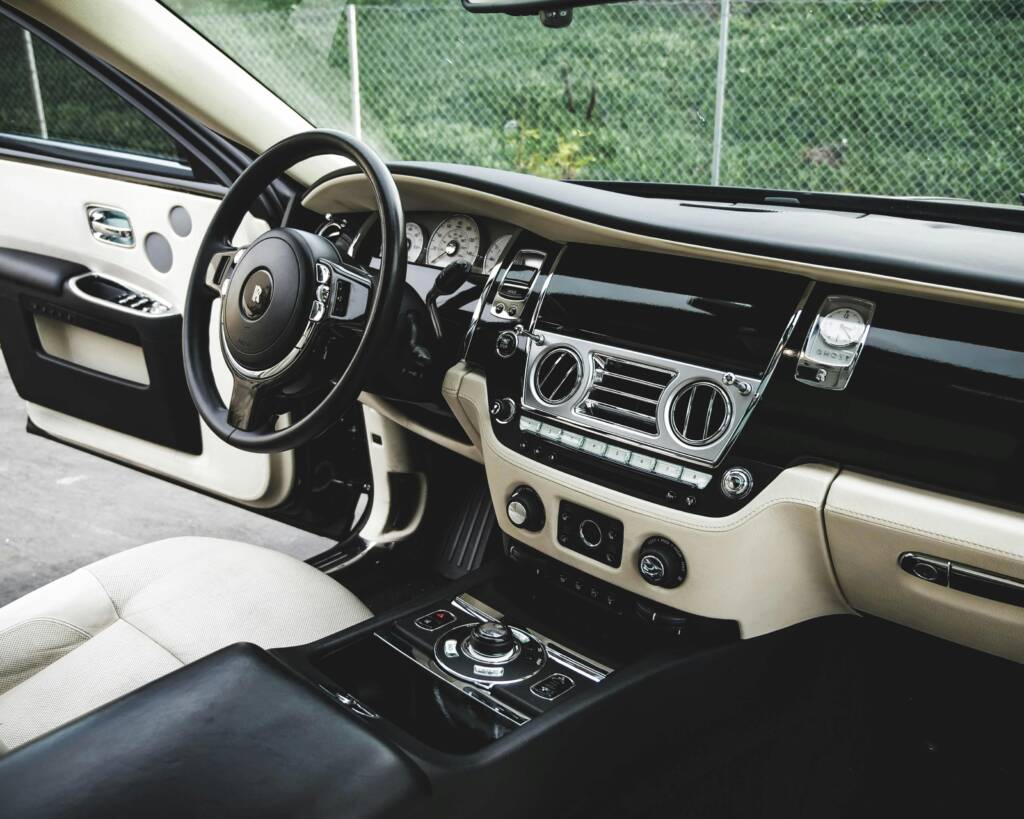
Interior detailing is more than just cleaning; it’s about restoring and protecting the materials inside a vehicle to keep them looking new and feeling fresh. A well-detailed interior not only enhances the driving experience but also preserves the vehicle’s value. For detailers, mastering interior work means understanding the nuances of different materials, from plastic and fabric to leather and vinyl, and knowing how to address common issues like stains, odors, and fading.
2. Essential Tools and Products for Interior Detailing
Before diving into the process, having the right tools and products on hand is key:
- Vacuum with Attachments: For thorough cleaning, a vacuum with specialized attachments allows you to reach every nook and cranny, from between seats to under floor mats.
- Brushes and Towels: A mix of soft bristle brushes, microfiber towels, and applicator pads are essential for scrubbing, wiping, and conditioning surfaces.
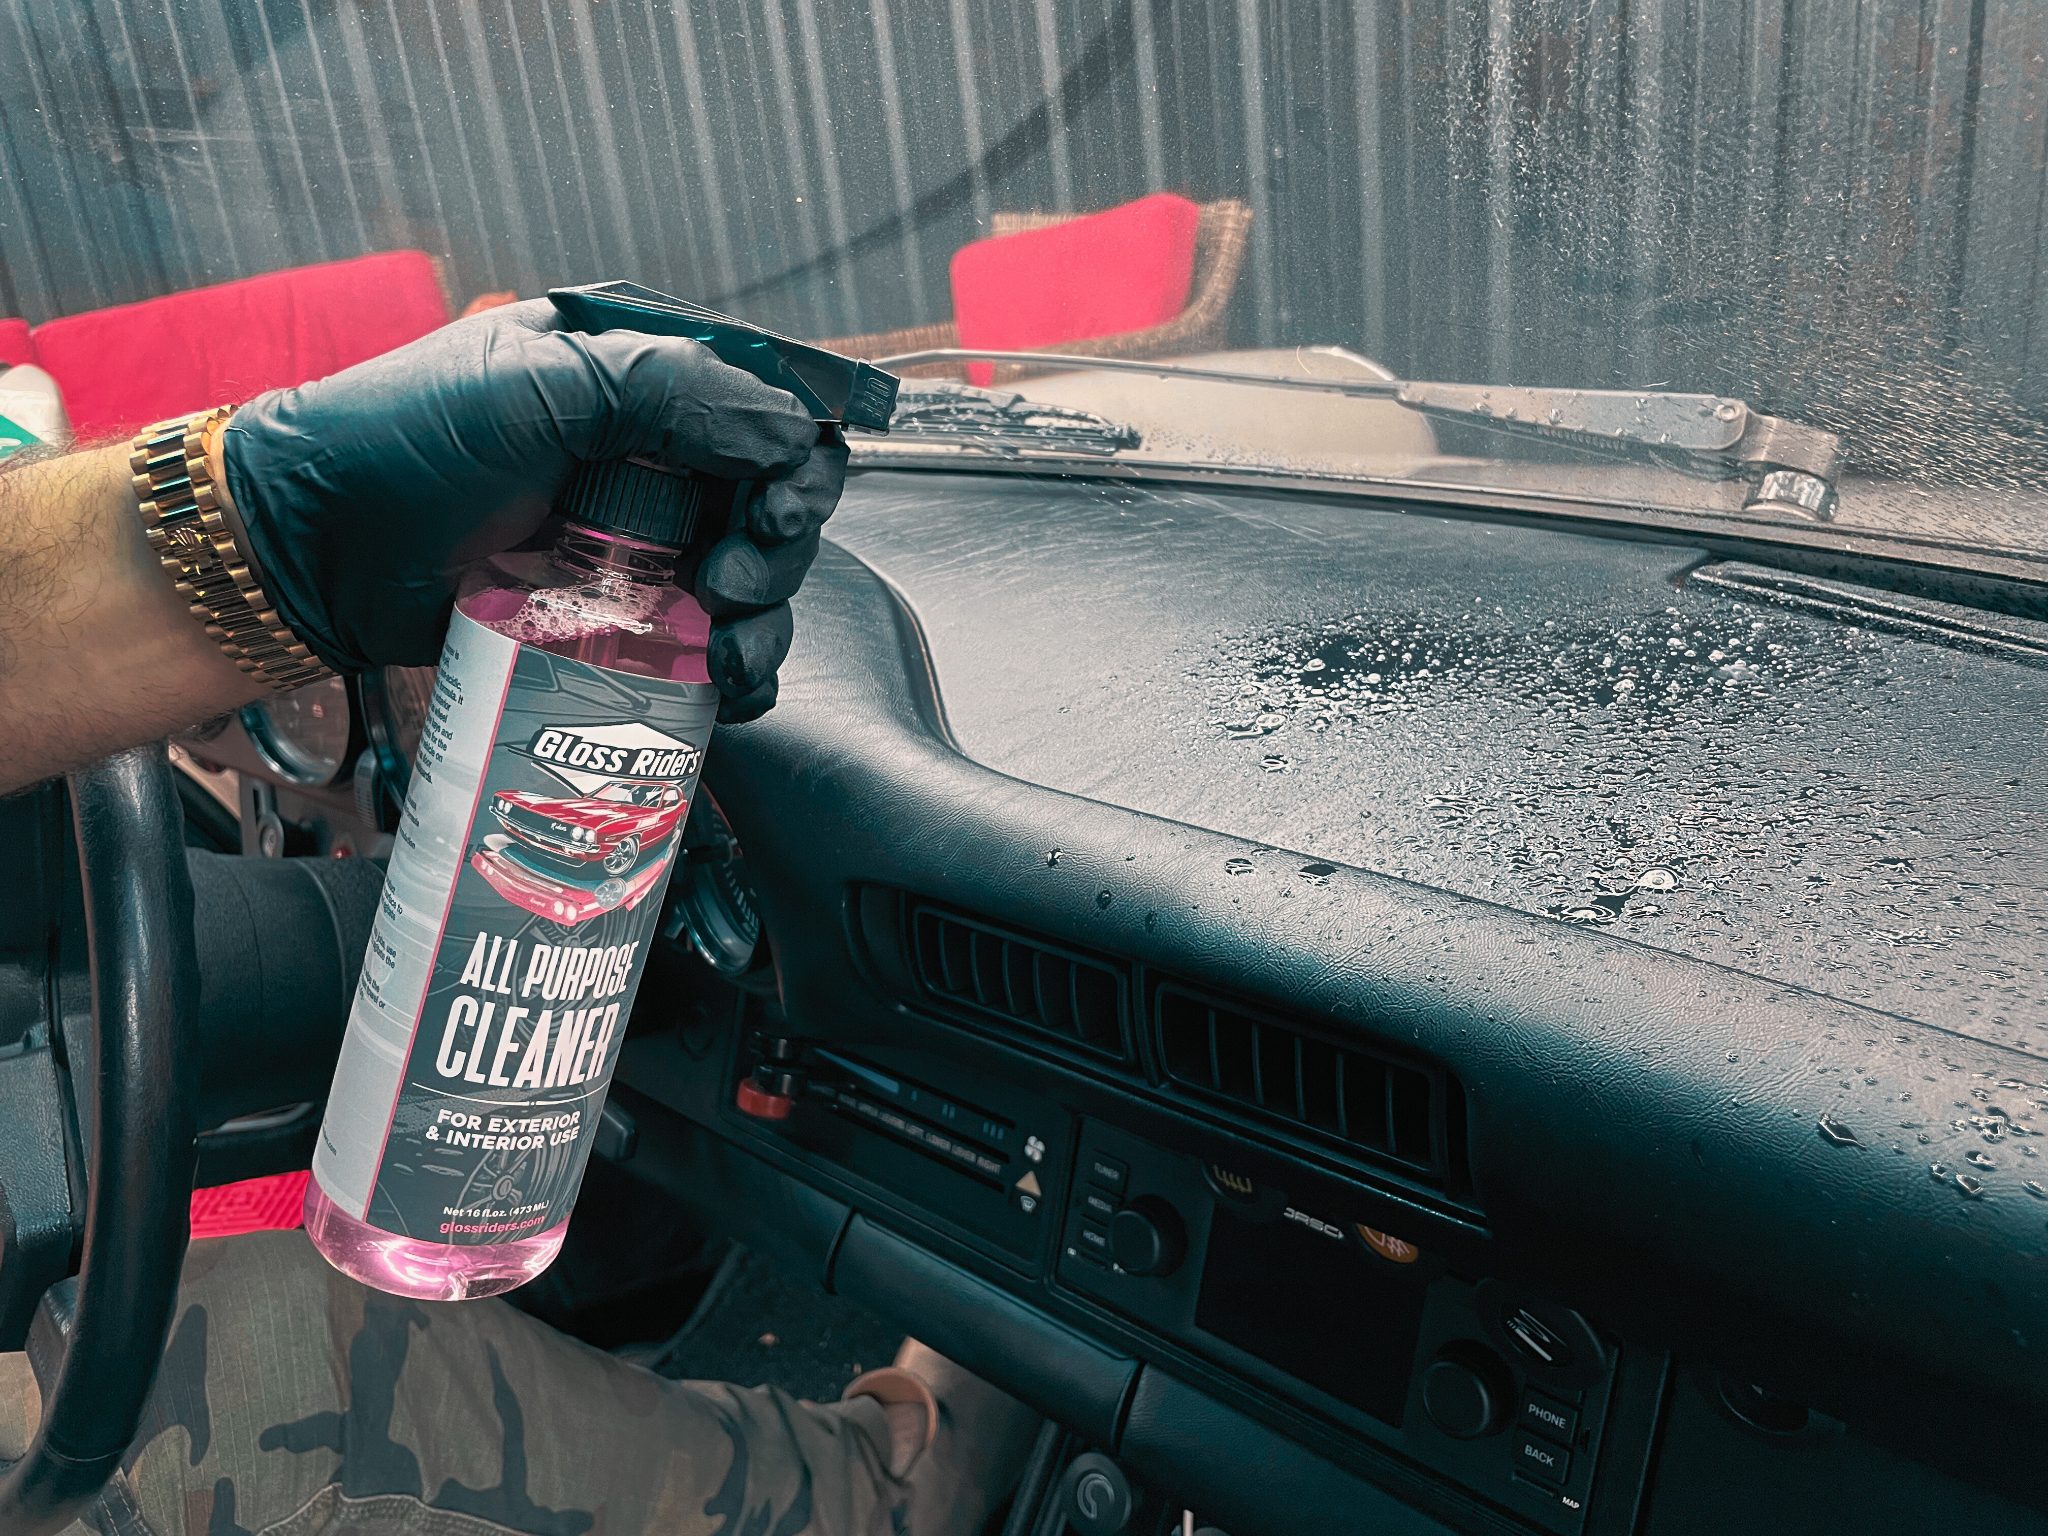
- All Purpose Cleaner: A versatile cleaner is a must for tackling everything from dirt on door panels to stains on upholstery. Gloss Riders All Purpose Cleaner is designed for safe use across multiple surfaces while delivering effective results.

3. Step-by-Step Interior Detailing Process
Let’s break down the process to ensure a comprehensive approach:
Step 1: Clear Out the Clutter
Start by removing personal items, floor mats, and any loose debris. This sets the stage for more focused cleaning.
Step 2: Vacuum Thoroughly
Use your vacuum to target every area, including seats, carpets, and hard-to-reach spots like air vents and seat crevices. This step removes loose dirt and dust that could otherwise get spread during the next stages of cleaning.
Step 3: Clean the Surfaces
For plastics, vinyl, and most interior surfaces, a high-quality all-purpose cleaner is your best friend. The Gloss Riders All Purpose Cleaner is perfect for safely lifting dirt and grime while leaving a clean finish.
- Application: Spray the cleaner directly onto your microfiber towel or brush and work it into the surface. For tougher spots, allow the cleaner to dwell for a minute before agitating with a brush.
- Wipe Down: After scrubbing, wipe the area dry with a clean microfiber towel, ensuring no streaks or residue are left behind.
- Steam Cleaning: For tough to clean applications a steamer may help to loosen dirt without having to use a highly abrasive stroke to remove dirt.

Step 4: Address Stains and Fabric Care
For fabric seats and carpets, spot treat any stains using the All Purpose Cleaner. Lightly mist the area, then agitate with a fabric brush before blotting dry. For larger areas, consider using a fabric extractor if available, but even a good scrubbing and blotting can yield impressive results.

Step 5: Leather Cleaning and Conditioning
Leather requires special attention, as harsh products can dry it out or cause damage. For leather surfaces, first clean them using a gentle application of the All Purpose Cleaner.
- Cleaning: Lightly spray the cleaner onto a microfiber towel and wipe down the leather. For heavily soiled areas, a soft brush can be used to gently lift dirt from creases.
- Conditioning: Once the leather is clean, it’s time to protect and nourish it with a quality conditioner. Gloss Riders’ soon-to-be-released Leather Luxe conditioner is designed to restore the suppleness and sheen of leather, leaving a soft, luxurious feel without greasy residue.
- Application: Apply a small amount of Leather Luxe onto a clean applicator pad and work it into the leather using gentle circular motions. Allow it to absorb before buffing with a dry microfiber towel for a natural finish.
Step 6: Finishing Touches
After cleaning and conditioning, reinstall the floor mats (after cleaning them, of course), and give the glass a streak-free shine using a quality glass cleaner. Don’t forget small details like door jambs, center consoles, and the dashboard, which can make all the difference.
4. Protecting the Interior for the Long Term
Once cleaned, the interior is ready for protection. Recommending the right maintenance practices to your clients can keep their vehicle looking fresh for longer:
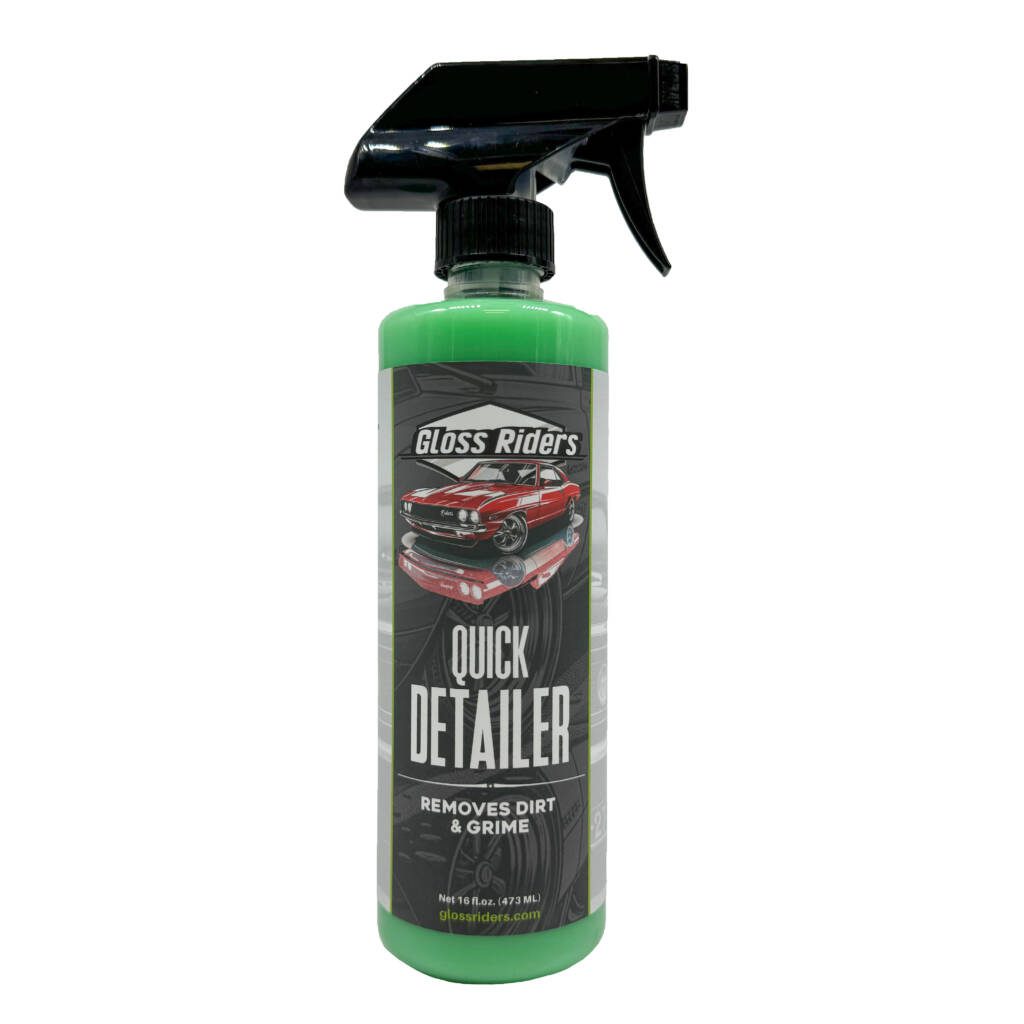
- Weekly Wipe Downs: Encourage clients to keep microfiber towels and a bottle of Gloss Riders Quick Interior Detailer on hand for easy maintenance between professional cleanings.
- Leather Care Routine: For clients with leather interiors, recommend conditioning every 3-6 months, depending on use, to maintain the softness and durability of their seats.
- Fabric Protection: Offering fabric protection as an additional service can help repel stains and spills, making maintenance easier for both you and your clients.
5. Consistency is Key
When it comes to interior detailing, consistency is what sets professionals apart. By mastering the right techniques and using premium products like those from Gloss Riders, you’ll not only deliver exceptional results but also build trust with your clients, ensuring repeat business and referrals.
Conclusion
Interior detailing may seem straightforward, but getting it right requires a keen eye, skilled techniques, and the right products. From multi-surface cleaning with the Gloss Riders All Purpose Cleaner to delivering top-tier leather care with Leather Luxe, the steps outlined above will help you refine your craft. As you continue to enhance your detailing skills, your reputation as a trusted expert will only grow, helping you stand out in a competitive industry.

