
Wheels and tires are often the most overlooked part of a vehicle when it comes to detailing, but they play a critical role in both appearance and performance. As a detailer, mastering wheel and tire care is essential—not just for aesthetics but also for extending the life of these components. In this guide, we’ll break down the steps for properly cleaning and protecting wheels and tires, with a special focus on Gloss Riders’ RVP Dressing for that perfect finishing touch.
1. The Importance of Proper Wheel and Tire Care
Wheels and tires face the harshest conditions on the road—brake dust, road grime, tar, and UV exposure are constant threats. Ignoring these areas can lead to damage over time, not to mention leaving an otherwise clean vehicle looking incomplete. Detailing these components requires both effective cleaning methods and high-quality products designed specifically for the job.
2. Tools and Products for Wheel and Tire Detailing
Before getting started, ensure you have the right tools and products on hand:
- Dedicated Wheel Cleaner: A non-acidic cleaner that can safely remove brake dust and grime without harming the finish.
- Tire Cleaner: Strong enough to break down old tire dressings and dirt.
- Brushes: A variety of brushes, including a soft bristle brush for wheels and a stiff tire brush, are essential.
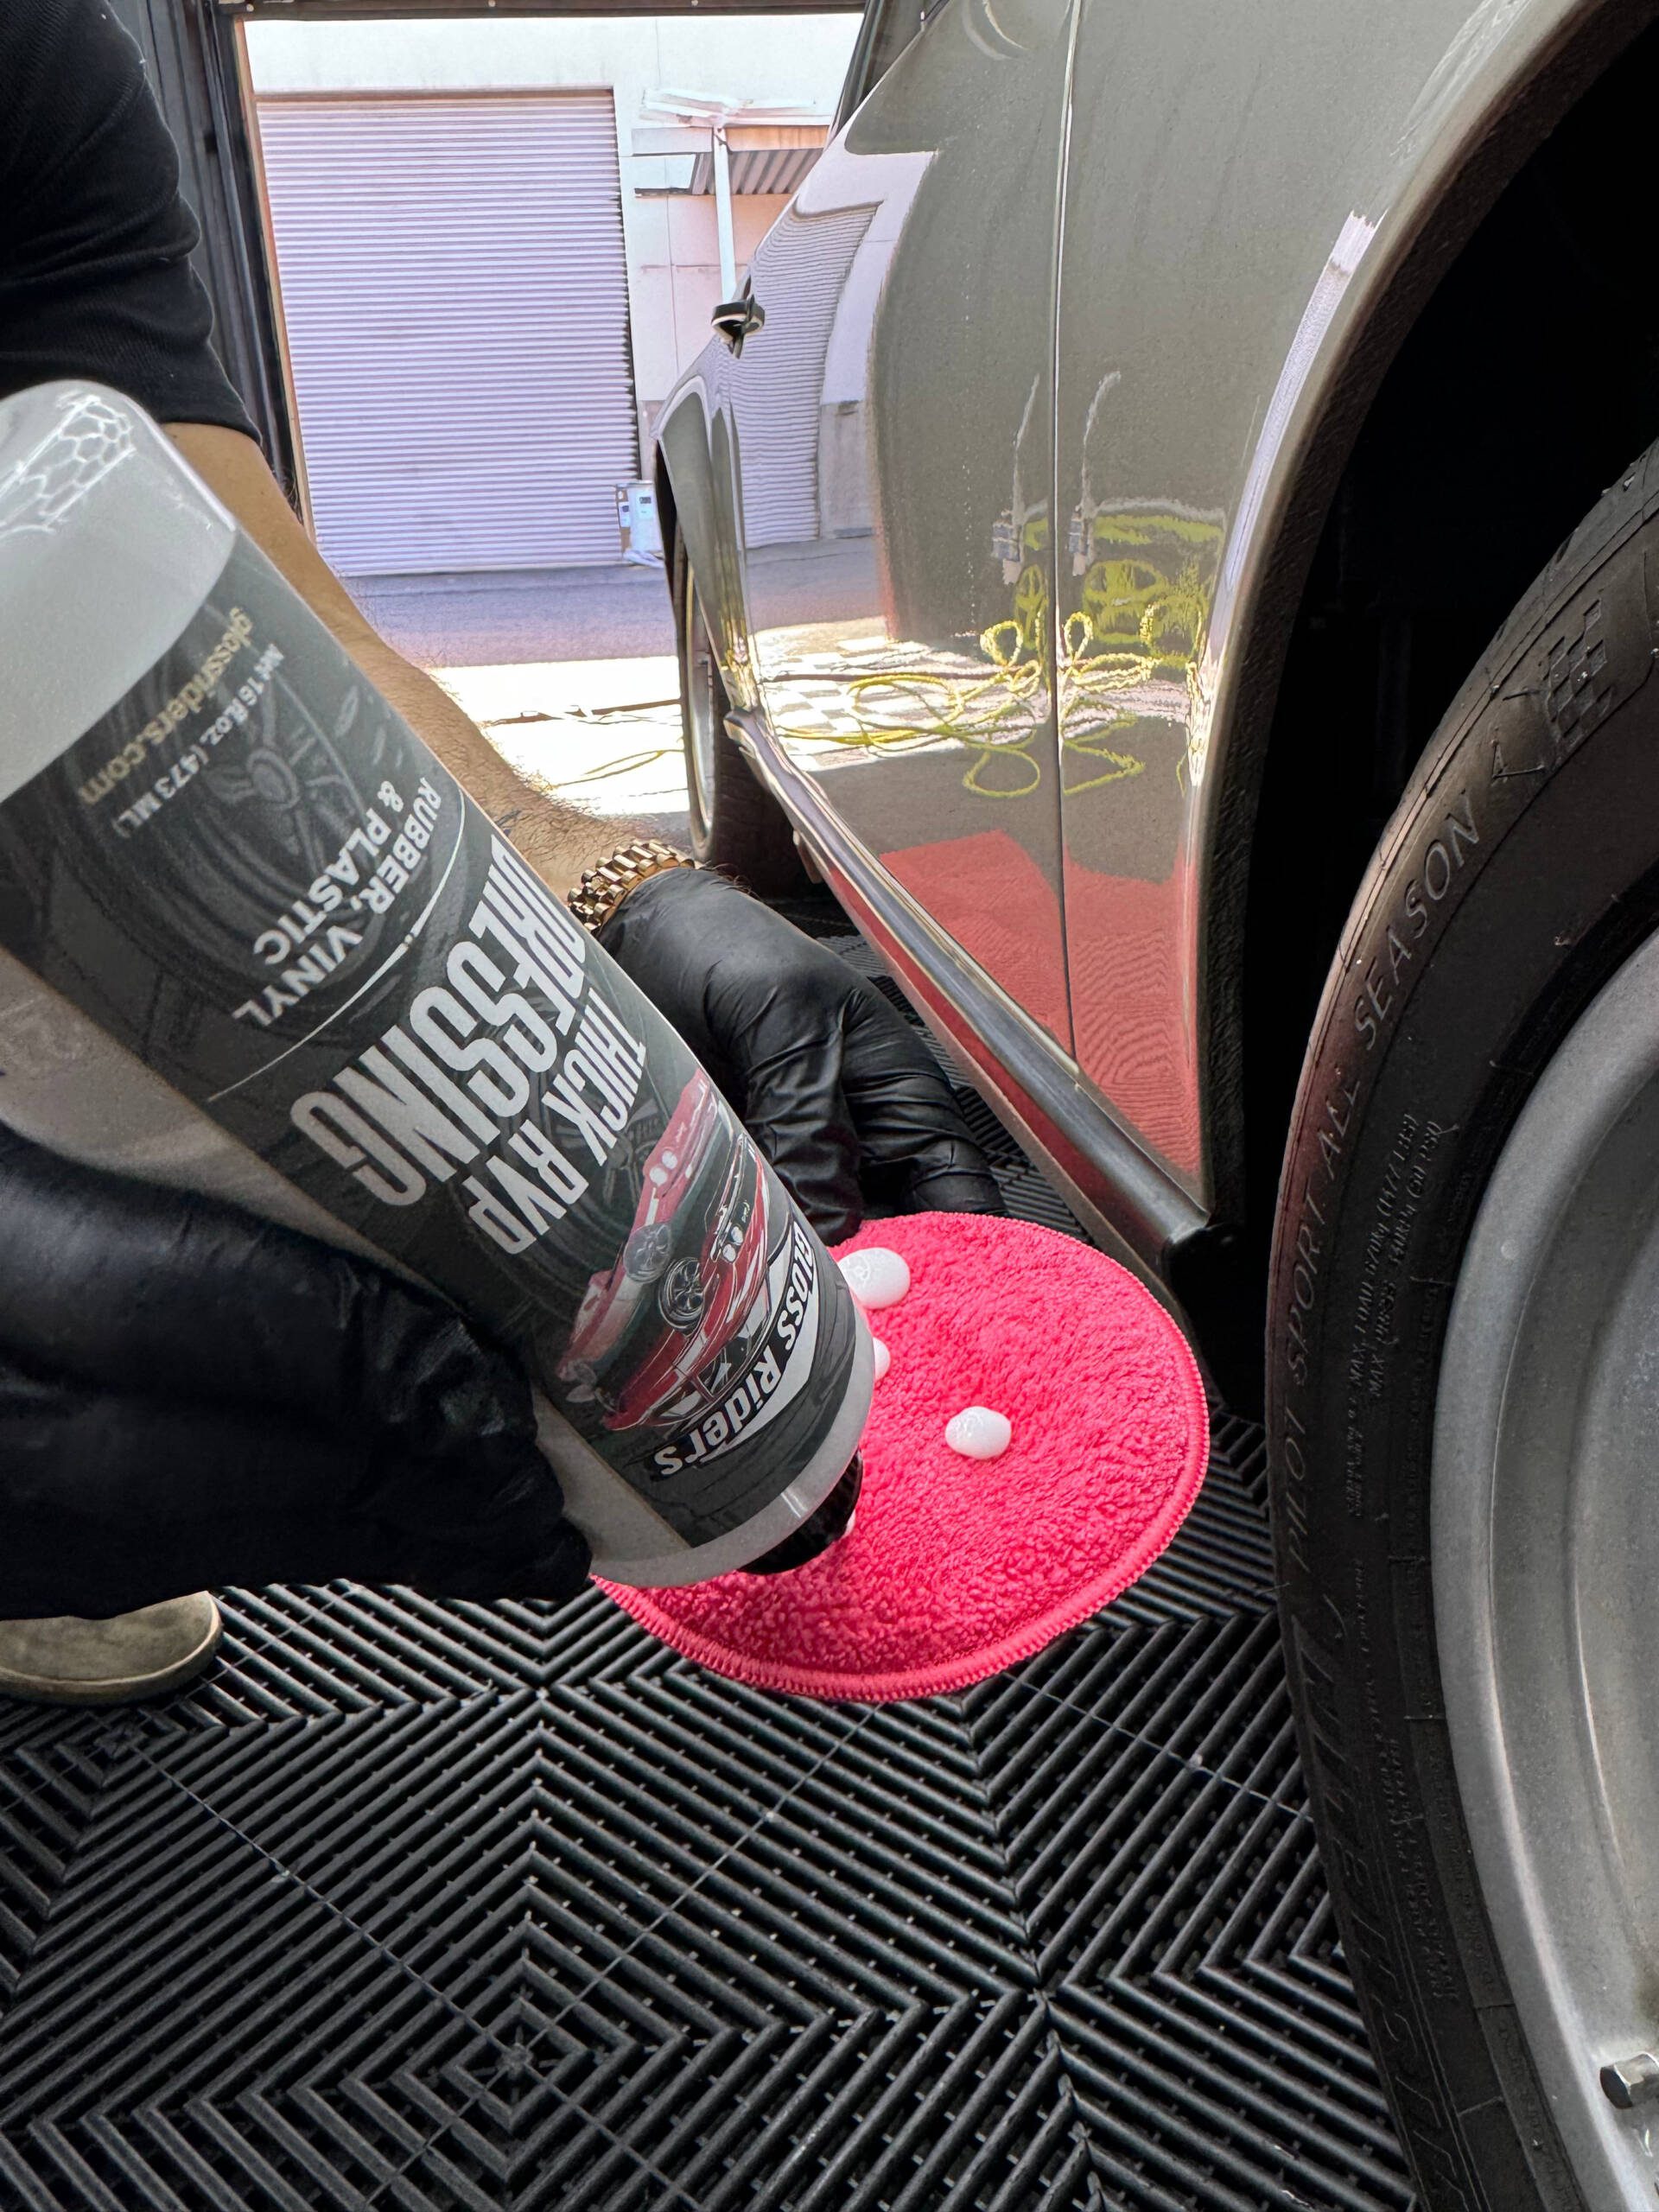
- Gloss Riders RVP Dressing: The star of the show, this dressing delivers a rich, satin finish on tires while offering UV protection and long-lasting durability.
3. Step-by-Step Process for Cleaning Wheels and Tires
Step 1: Pre-Rinse
Start by rinsing the wheels and tires with water to remove loose dirt and grime. This initial rinse will make the cleaning process more effective by reducing the risk of scratching the surface.
Step 2: Clean the Wheels
Using a dedicated wheel cleaner, spray the solution generously on the wheels, focusing on high-contact areas like spokes and the barrel where brake dust accumulates.
- Brush Work: Use a soft-bristle brush to agitate the cleaner, reaching into tight spaces. For the inner barrel and around lug nuts, a dedicated wheel brush or detailing brush is ideal. Work section by section, and don’t let the cleaner dry on the surface.
- Rinse Thoroughly: After scrubbing, rinse each wheel completely to wash away all debris and cleaner. Ensure no cleaner residue is left behind, which can affect the finish.
Step 3: Clean the Tires
Tires often have old dressing, dirt, and road grime embedded in the rubber. Use a strong tire cleaner and a stiff brush to scrub the sidewalls. You’ll notice the cleaner turning brown as it lifts the dirt and old dressing off the rubber—this is a good sign that it’s doing its job.
- Multiple Passes: For heavily soiled tires, a second application and scrubbing may be necessary. The goal is to get the tires clean enough so that the cleaner rinses off clear, ensuring no grime remains to interfere with the dressing.
4. Applying Gloss Riders RVP Dressing
Once the wheels and tires are clean and dry, it’s time to add protection and that professional finish with the Gloss Riders RVP Dressing.
- Product Highlights: The RVP Dressing is designed to provide a rich, satin sheen with excellent durability. It offers UV protection to prevent fading and cracking while also repelling water and dirt.
Application Process:
- Apply to a Clean, Dry Surface: Ensure the tires are completely dry before applying the dressing. This prevents streaking and helps the product adhere properly.
- Use an Applicator Pad: Pour a small amount of RVP Dressing onto a foam or microfiber applicator pad. Less is more here—start with a light application and build as needed.
- Work It In: Spread the dressing evenly across the sidewall, taking care to reach all areas. Work it into the rubber with circular motions, ensuring an even coat without over-applying. This method not only enhances appearance but also improves the durability of the dressing.
- Wipe Off Excess: After letting the dressing sit for a few minutes, go over the tires with a dry microfiber towel to remove any excess product. This helps prevent sling (product flying off when driving) and ensures a consistent finish.
- Optional Second Coat: For detailers who prefer a glossier look, a second coat can be applied once the first coat has cured.
5. Finishing the Wheels
After dressing the tires, give the wheels a final wipe-down to remove any water spots or cleaner residue that may have settled during the process. If you have a wheel sealant or ceramic spray, now is the time to apply it to protect the finish and make future cleaning easier.
6. Maintenance Tips for Your Clients
Educate your clients on how to maintain their wheels and tires between professional details:
- Regular Washing: Recommend using a pH-balanced car shampoo like Gloss Riders Super Suds to keep wheels and tires clean without stripping the dressing.
- Touch-Up Dressing: For clients who like their tires looking freshly dressed all the time, suggest a light touch-up with Gloss Riders RVP Dressing between full details.
7. The Detailer’s Edge
As a professional detailer, offering impeccable wheel and tire care sets you apart. The combination of effective cleaning and high-quality dressing like Gloss Riders RVP not only delivers great results but also helps build trust and satisfaction with your clients. Remember, clean and well-dressed tires are the finishing touch that completes a polished vehicle, ensuring that every car leaves your care looking its best.
Conclusion
Wheels and tires are often the most visible yet challenging areas to detail, but when done correctly, they enhance the overall appearance of a vehicle significantly. By following the steps outlined above and incorporating premium products like Gloss Riders RVP Dressing, you’ll be able to deliver consistently outstanding results. Keep honing your techniques, and let the quality of your work speak for itself in every detail.